

Introduction
Not every home improvement project needs to turn into a major renovation. Some of the most noticeable changes can be completed in a weekend with basic tools, a manageable budget, and a little time. Whether you want to refresh a tired room, improve storage, update outdated fixtures, or add more personality to your home, the right DIY home improvement projects can make a meaningful difference without requiring professional help.
The challenge is knowing which projects are realistic for a weekend and which ones could quickly become more time-consuming than expected. Before starting any project, it helps to understand the estimated time, difficulty level, materials, and basic tools involved.
In this guide, you'll find 15 DIY home improvement projects you can finish in a weekend, from simple painting and hardware updates to shelving, wall treatments, furniture refinishing, and other practical upgrades. Each project includes useful details to help you choose an option that fits your skills, budget, and available time.
| Project | Time | Difficulty | Rough Cost |
|---|---|---|---|
| Paint an accent wall | 1 day | Beginner | $30–$80 |
| Swap cabinet hardware | 2-4 hours | Beginner | $20–$100 |
| Install a light fixture | 2-3 hours | Beginner-Intermediate | $30–$150 |
| Build open shelving | 1 day | Intermediate | $40–$150 |
| Hang a gallery wall | 2-3 hours | Beginner | $20–$100 |
| Upgrade bathroom fixtures | Half day | Beginner-Intermediate | $30–$120 |
| Paint a tile floor | 1–2 days | Intermediate | $40–$100 |
| Build a window planter box | 1 day | Intermediate | $30–$70 |
| Install a peel-and-stick backsplash | 1 day | Beginner-Intermediate | $50–$150 |
| Refinish old furniture | 1–2 days | Beginner-Intermediate | $20–$80 |
| Organize a closet or pantry | Half day | Beginner | $30–$100 |
| Hang floating shelves | 3–4 hours | Beginner | $30–$90 |
| Add board-and-batten trim | 1–2 days | Intermediate | $60–$200 |
| Weatherproof the front door | Half day | Beginner | $20–$60 |
| Install peel-and-stick wallpaper | 1 day | Beginner-Intermediate | $40–$120 |
1. Paint an Accent Wall or a Full Room
Short answer: Painting is the single highest-impact, lowest-skill DIY project on this list, and one wall can be fully painted in a single day, including dry time between coats.
Paint is where most people start for a reason. A gallon covers roughly 350 square feet, which is usually enough for one accent wall with room to spare, and the only tools you really need are a roller, an angled brush for edges, and painter's tape. If you're nervous about committing to color on all four walls, one accent wall lets you test a bolder shade without repainting the whole room if you change your mind later.
2. Swap Cabinet Hardware and Door Knobs
Short answer: New knobs and pulls take a couple of hours to install and instantly modernize kitchen cabinets or an old vanity without touching the cabinet boxes themselves.
This is one of the cheapest ways to update a room, and it barely counts as a DIY project in terms of difficulty, most pulls install with just a screwdriver. Measure the hole spacing on your existing hardware before ordering new pulls, since a mismatched spacing means drilling new holes and patching the old ones. If you're switching from knobs to pulls (or the reverse), plan on a bit of wood filler and touch-up paint to cover the gaps.
3. Install a New Light Fixture or Ceiling Fan
Short answer: Swapping an outdated fixture for a new one is a manageable afternoon project as long as you turn off the breaker first and the wiring itself doesn't need to move.
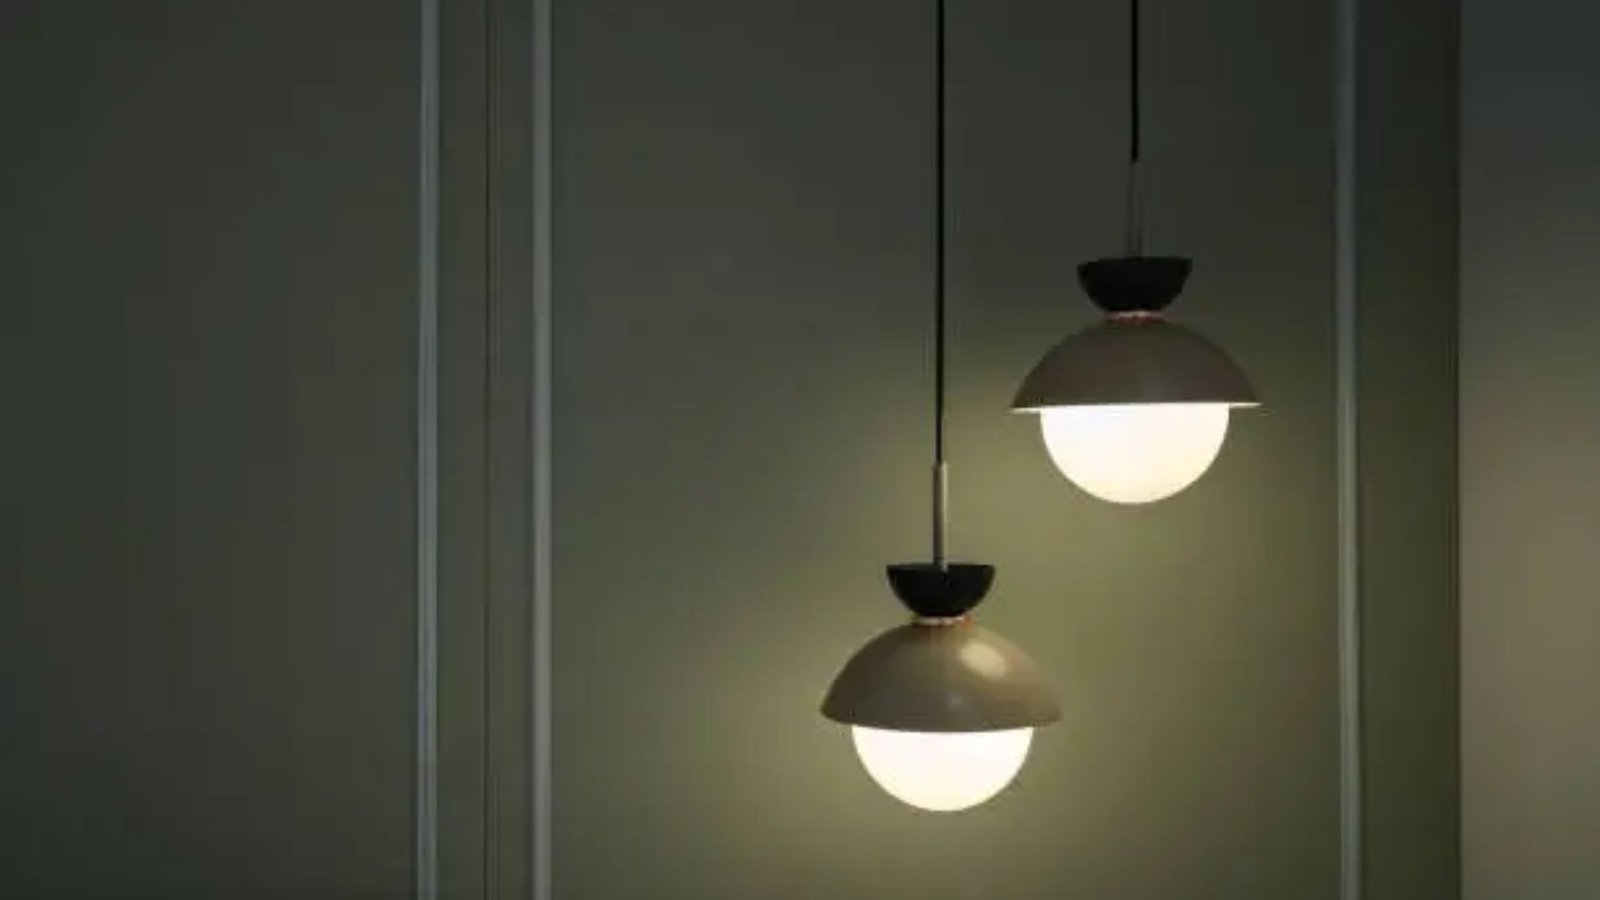
Lighting has an outsized effect on how a room feels, and this is a project that doesn't require any special skill beyond following the wiring diagram that comes with your new fixture. The one non-negotiable step is confirming the power is actually off at the breaker, not just the wall switch, before you touch any wires. If the existing wiring looks damaged or the box isn't rated for a heavier fixture like a ceiling fan, that's the point to call an electrician instead of pushing through it yourself.
4. Build Simple Open Shelving
Short answer: A single run of open shelving using pine boards and basic brackets can be built and mounted in a day, and it's one of the more satisfying beginner woodworking projects on this list.
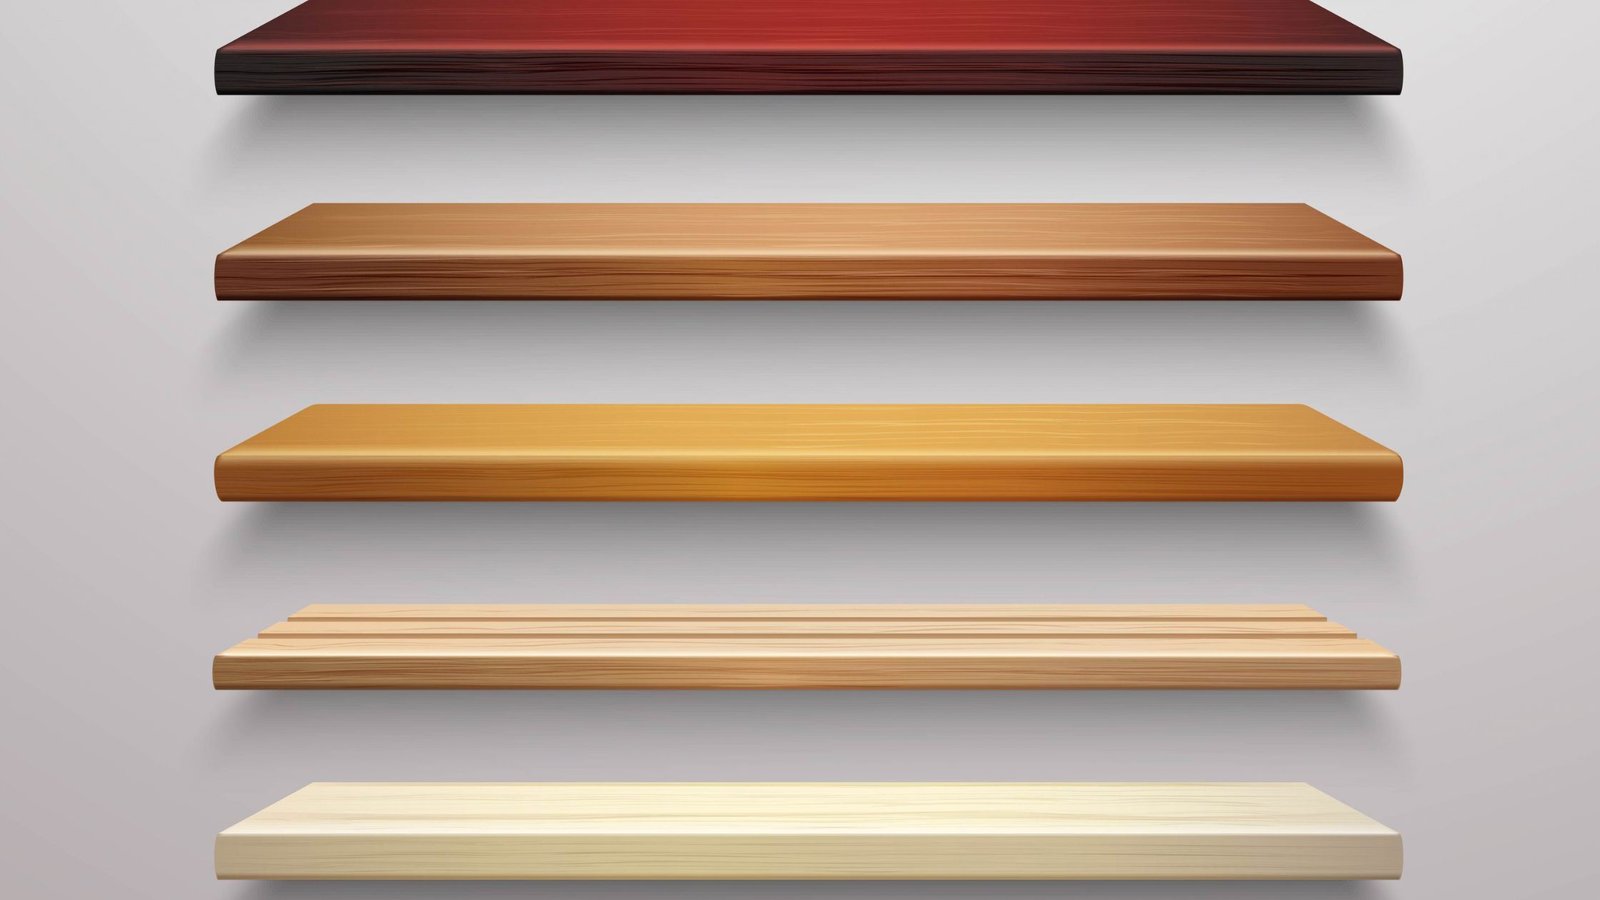
Open shelving works well in a kitchen, bathroom, or living room where you want both storage and a place to display things (we've got a full cut list and mounting walk-through over in DIY & Projects if you want the exact measurements). Keep the span between brackets under 32 inches if you're using standard pine, since longer unsupported spans tend to sag over time under real weight. Sanding and sealing the wood before mounting is worth the extra hour, since it's much easier to finish flat boards on a table than shelves already attached to a wall.
5. Hang a Gallery Wall
Short answer: A gallery wall of framed art or photos comes together in an afternoon once you've planned the layout on the floor first.
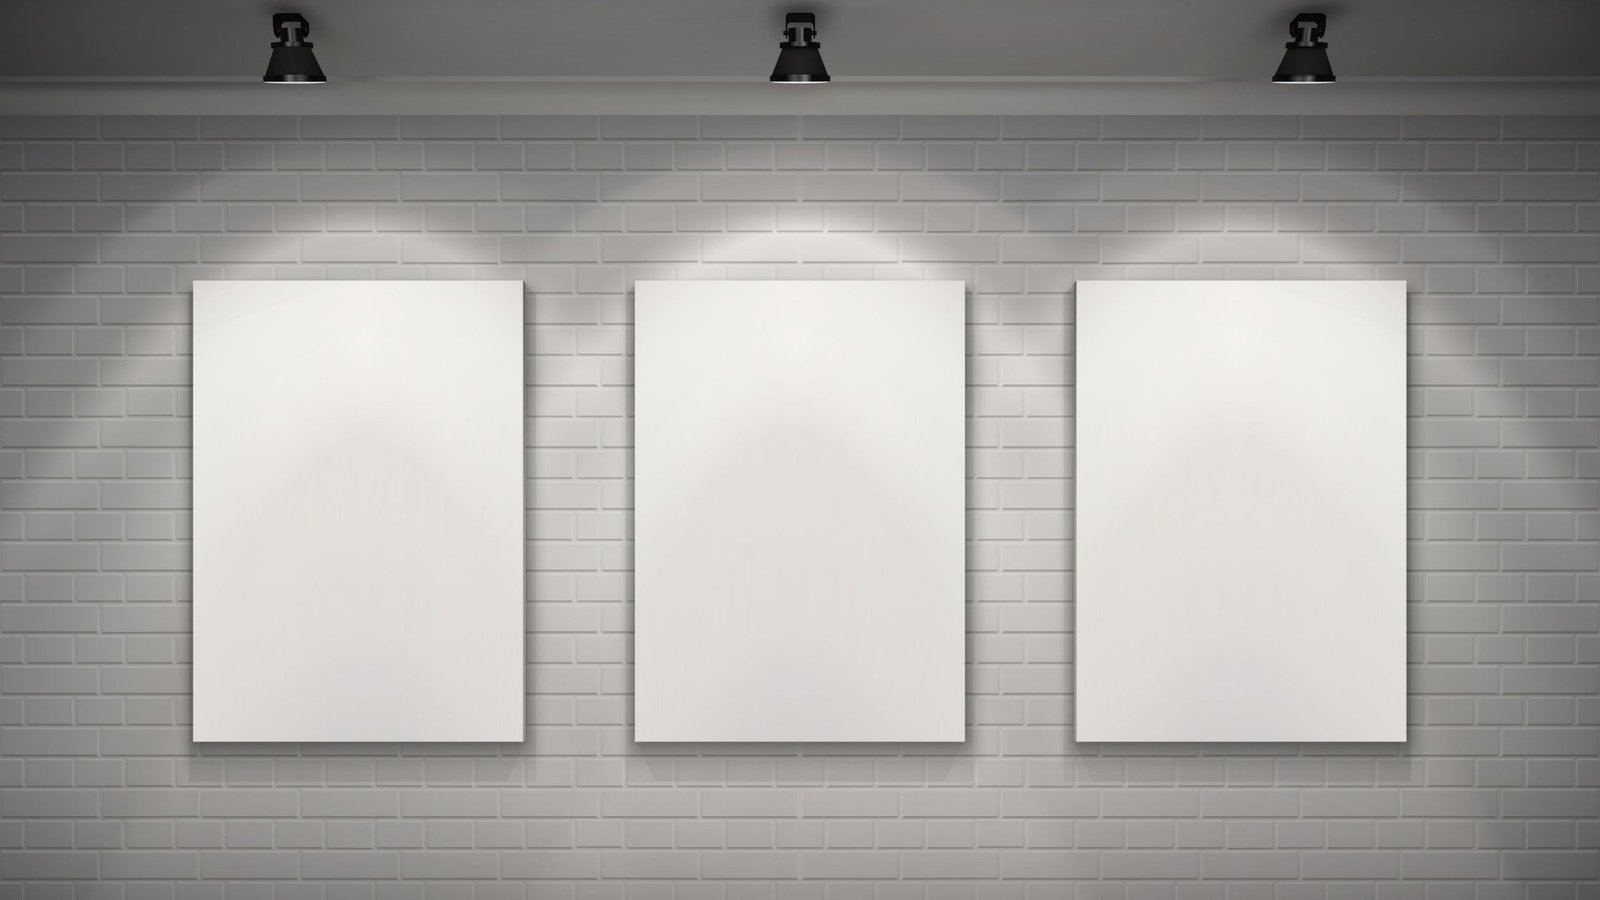
The most common mistake with this project isn't the hanging, it's skipping the planning step. Lay your frames out on the floor in the arrangement you want, take a photo for reference, then transfer the layout to the wall using painter's tape outlines before a single nail goes in. Keep roughly 2 to 3 inches between frames for a cohesive look, and hang the largest or most central piece at eye level first, building outward from there.
6. Upgrade Your Bathroom Fixtures
Short answer: Replacing a dated faucet, showerhead, or towel bar is a half day project that makes an outdated bathroom feel current without any tile or plumbing work.
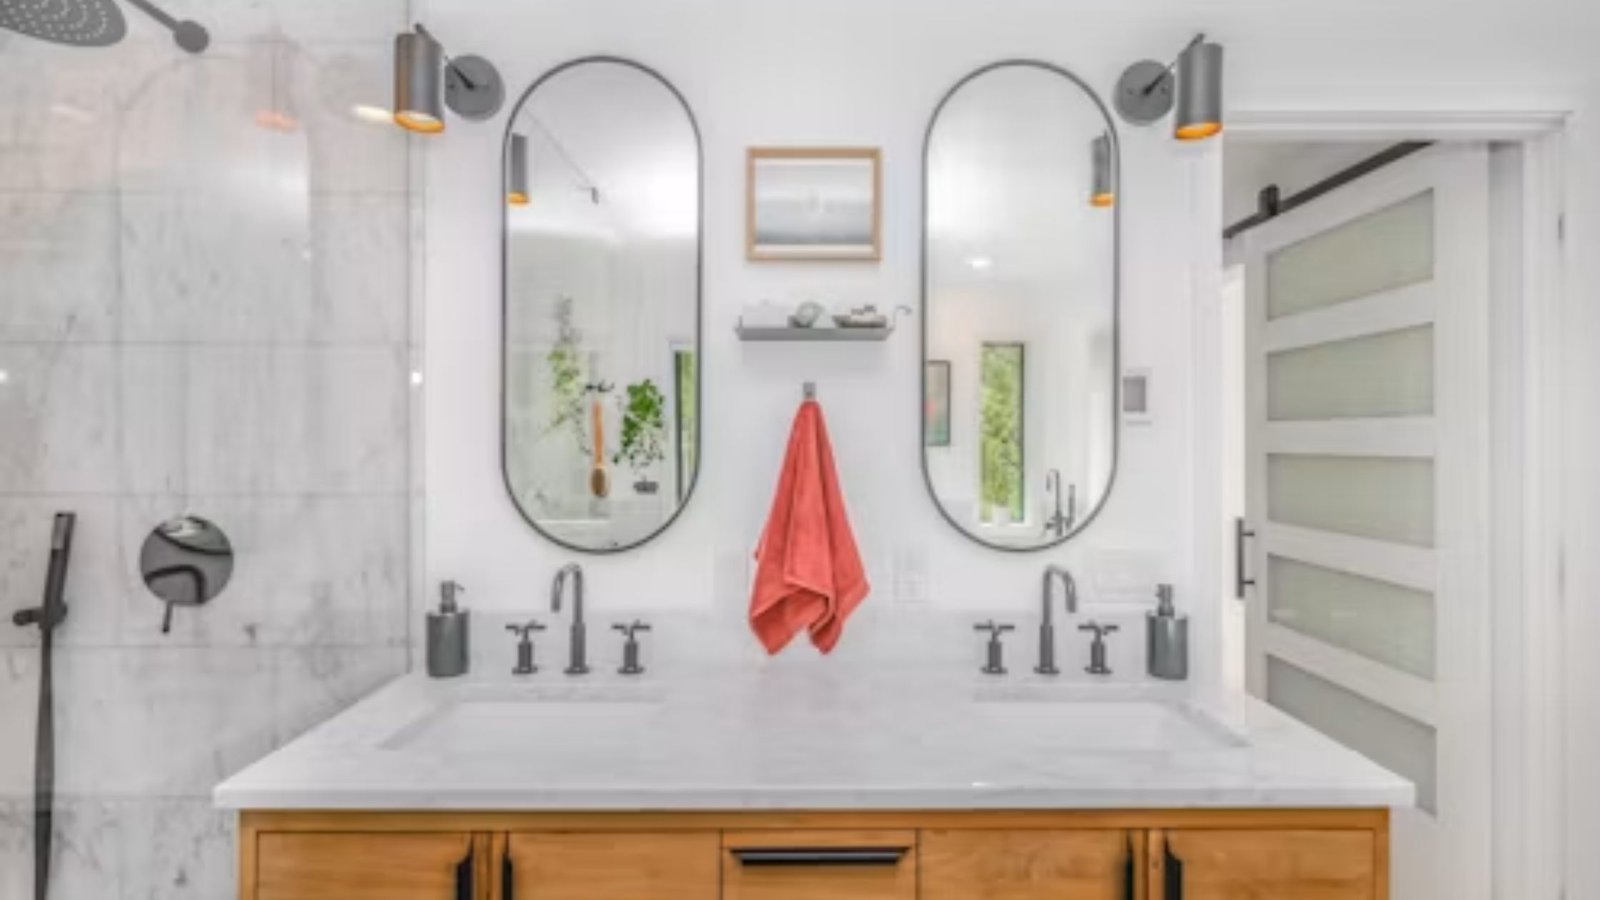
You don't need a full renovation to notice a difference in a bathroom, and honestly this is usually the gateway project that gets people looking at their bathroom with fresh eyes. A new showerhead usually just threads onto the existing arm, and a faucet swap is manageable as long as the connections underneath match standard supply lines. Keep a bucket and towels handy for the small amount of water that drips out when you disconnect the old fixture, and turn off the shutoff valves under the sink before you start.
7. Paint or Stencil a Dated Tile Floor
Short answer: Floor and tile paint made for high-traffic areas can transform an outdated tile floor for a fraction of the cost of replacing it, though it needs a full weekend for prep and cure time.
This project takes longer than most on this list because of dry time between coats and a mandatory cure period before foot traffic resumes, but the transformation is dramatic for the cost. Clean and deglaze the tile thoroughly first, since paint won't hold up over grease or soap residue. A stencil adds a patterned, custom-tile look, but plan for two full days if you're doing a full stencil design rather than a single flat color.
8. Build a Window Planter Box
Short answer: A simple wood planter box for a front window is a beginner-friendly carpentry project that noticeably boosts curb appeal in about a day.
This is a good confidence-building project if you're new to basic woodworking, since it's just straight cuts and simple joints. Cedar or pressure-treated wood holds up best against weather without needing to be repainted every year. Drill drainage holes in the bottom before mounting, and use brackets rated for the box's full weight once it's filled with soil and watered, which is heavier than it looks when it's empty.
9. Install a Peel-and-Stick Backsplash
Short answer: Peel-and-stick tile gives you a real backsplash look in a single day, with no grout, no wet saw, and no permanent commitment if you're renting.
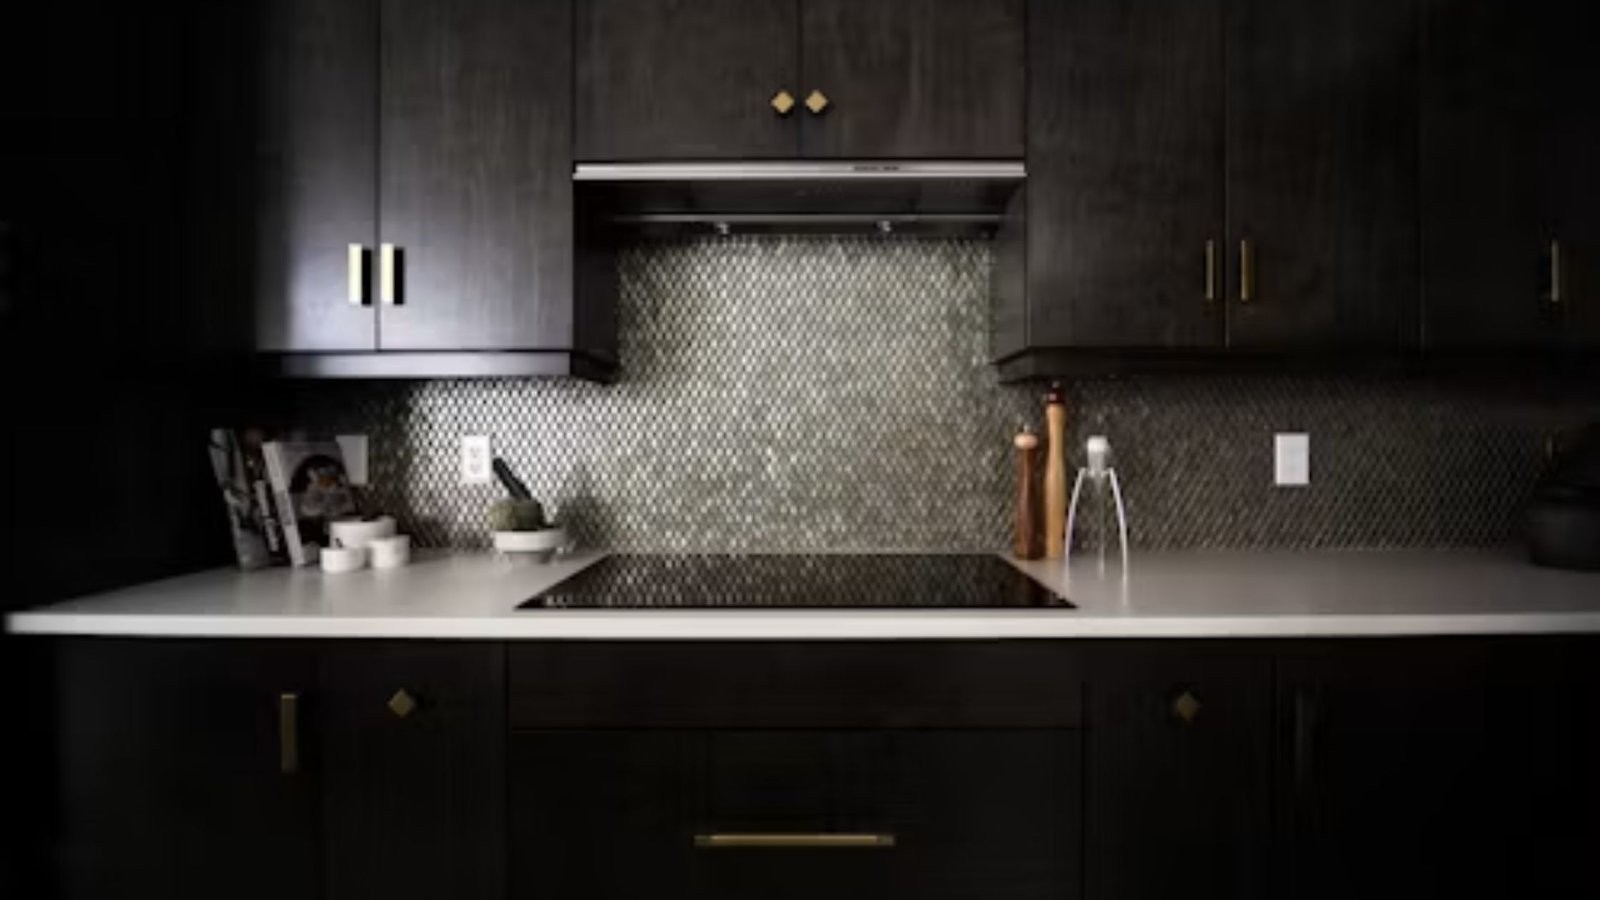
This is one of the better renter-friendly DIY home improvement options, since it removes cleanly when you move. Clean the wall thoroughly and let it dry completely before applying tiles, since dust and grease are the main reasons peel-and-stick tile fails to stick long-term. Start from the center of the wall and work outward so any cut pieces end up at the edges instead of in the middle of your eye line.
10. Refinish or Paint an Old Piece of Furniture
Short answer: A tired dresser, table, or cabinet can be sanded, primed, and repainted or stained in a weekend for a fraction of the cost of buying new furniture.
Furniture refinishing is a forgiving DIY project for beginners because mistakes are usually fixable with more sanding. Remove hardware first, sand with a medium grit to rough up the existing finish, then move to a finer grit before priming. If you're working with real wood rather than laminate or veneer, a stain and clear topcoat gives a more durable, higher-end result than paint alone.
11. Organize a Closet, Pantry, or Garage
Short answer: A half day spent sorting, containerizing, and adding simple shelving or bins turns a chaotic storage space into one that actually works.
Good organization projects start with taking everything out, not just rearranging what's already there. Group items by category before deciding what goes back in and where, and be honest about what actually gets used versus what's just been sitting there. Clear bins with labels beat opaque ones almost every time, since you can see what's inside without opening anything. For a bigger organizing push across multiple rooms, our Home Maintenance hub has guides on tackling one space at a time without it turning into a whole-house project.
12. Hang Floating Shelves
Short answer: Floating shelves add display or storage space in a few hours and read as far more custom than they actually are to install.
The trick to floating shelves that don't sag is finding real studs for at least one anchor point per shelf, or using heavy duty toggle bolts rated for the shelf's expected load if studs aren't available where you want them. Check the shelf is level before fully tightening the hardware, since even a slightly off shelf becomes obvious once you start setting things on it.
13. Add Board-and-Batten Wall Detail
Short answer: Board-and-batten trim adds a custom, architectural look to a plain wall using MDF strips, wood glue, and a nail gun, typically over a weekend.
This is one of the more involved projects on this list, but it's still very achievable without professional experience. Measure and plan your batten spacing on paper first so the pattern is symmetrical across the wall rather than uneven at the edges. A caulk gun and paintable caulk are what actually make the finished look clean, since caulking the seams before painting hides any small gaps between the wood and the wall.
14. Weatherproof and Refresh the Front Door
Short answer: New weatherstripping, a fresh coat of paint, and updated door hardware take a half day and improve both curb appeal and energy efficiency at the same time.
A drafty front door wastes energy year round, and fixing it is a genuinely simple DIY project. Replace worn weatherstripping around the frame, and check the door sweep at the bottom, both are inexpensive fixes that make a real difference to comfort inside. While the door is off or propped open for hardware work, it's also the easiest time to give it a fresh coat of exterior paint.
15. Install Peel-and-Stick or Pre-Pasted Wallpaper
Short answer: A single accent wall of peel-and-stick wallpaper can be installed in a day and adds pattern and personality without the commitment of traditional wallpaper paste.
Wallpaper has a reputation for being intimidating, but peel-and-stick versions are genuinely a manageable weekend DIY project. Start in a corner and use a smoothing tool to work out air bubbles as you go, since they're much easier to fix immediately than after the adhesive has fully set. A small, low-humidity space like a powder room or a single accent wall in a bedroom is the easiest place to practice before tackling a bigger room.
Tools You'll Actually Use Across Most of These
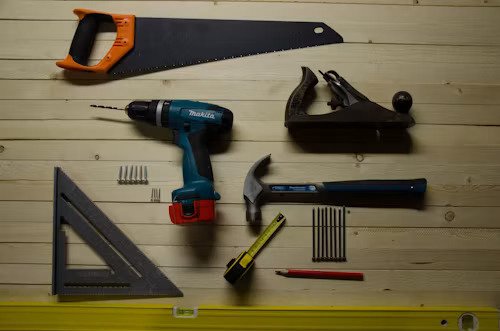
You don't need a fully stocked workshop to get through this list. A core set of tools covers the vast majority of these projects:
| Tool | Used For |
|---|---|
| Cordless drill/driver | Hardware, shelving, most mounting jobs |
| Level | Shelves, art, cabinets, anything on a wall |
| Stud finder | Floating shelves, heavy mounted items |
| Painter's tape | Paint lines, wallpaper edges, layout planning |
| Caulk gun | Trim work, sealing gaps, weatherproofing |
| Basic screwdriver set | Hardware swaps, fixture installs |
| Sandpaper (medium and fine grit) | Furniture refinishing, prep work |
Common Mistakes That Turn a Weekend Project Into a Month-Long One
- Skipping the prep work. Sanding, cleaning, and priming feel like they're slowing you down, but they're the difference between a finish that lasts and one that peels within a year.
- Not buying enough material the first trip. Dye lots and batch numbers can vary slightly, so buy a little extra paint, tile, or wallpaper up front rather than risking a mismatched second purchase.
- Ignoring load ratings on wall anchors. A shelf or fixture that looks secure the day you hang it can fail weeks later if the anchor wasn't rated for the actual weight.
- Starting a multi-day project on a single free afternoon. Rushing a job that needs real dry or cure time is the fastest way to end up redoing it.
Frequently Asked Questions
What are the best DIY projects for beginners?
Painting, swapping cabinet hardware, and hanging a gallery wall are among the most forgiving places to start. They require minimal tools, mistakes are easy to fix, and the payoff is immediate.
How much do DIY projects typically cost?
Most of the projects on this list fall between $20 and $150 depending on the size of the space and the materials you choose. Painting and hardware swaps sit at the low end, while built shelving and board-and-batten trim run higher.
How long do DIY home improvement projects usually take?
Most single-room projects, like painting, hardware, or lighting, fit into a few hours to a full day. Anything involving cure time, like tile paint or a full accent wall of trim, is safer to plan across a full weekend.
What tools do I need to get started with DIY projects?
A cordless drill, a level, a stud finder, and a basic screwdriver set cover most beginner projects. You can add specialty tools as specific projects call for them rather than buying everything up front.
How can I make DIY projects safely?
Turn off power at the breaker before any electrical work, wear eye protection for cutting or sanding, and check weight ratings before mounting anything to drywall. If a project involves gas lines, structural changes, or anything you're not confident about, that's the point to call in a professional.
Conclusion
The best part of a weekend DIY project isn't just the money saved, it's the fact that you did it yourself. Most of the projects above cost less than a night out, take a single day or two, and leave you with a room that actually feels different to walk into. You don't need to tackle all 15 at once, and you definitely don't need a garage full of tools to get started.
Start with whichever one on this list solves the problem that's been bugging you the most, whether that's a light fixture you've been meaning to replace for a year or a closet that's been driving you a little crazy every morning. Once you've got that first project done, the rest tend to follow, and each one gets a little faster than the last.